Categories
Workshops

Wet Plate Collodion Ambrotype and “Tintype”

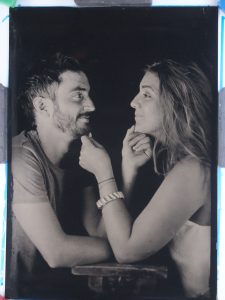
Jack and Anna
Jack and Anna – wet plate collodion

An ambrotype is an application of the wet plate collodion technique to make a thin negative image on a transparent material, usually glass, which when viewed against a dark background is seen as a positive image.

In the one day workshop, you will make a wet plate collodion ambrotype – the workshop cost is 60 euro and includes all materials which I have already prepared. You will do all the other processes, exposure, development and finishing.

The process requires coating a scrupulously clean glass plate with a thin layer of “salted” collodion  which is made photo sensitive by immersion in a silver nitrate solution.

While the plate is still “wet” it is kept out of the light and carefully placed in a suitable camera. It is then exposed in the camera, removed, again away from light, and developed in a safe “darkroom”.

The development is “stopped” and the plate is then “fixed”.

The process from sensitisation to fixing needs to be completed before the coating on the plate begins to dry (hence the term “Wet Plate” photography, this process takes, typically, three to five minutes.

After fixing, the plate is dried carefully and then “varnished” to protect the very thin and fragile coating.

Ambrotypes are usually backed by a a dark material or paint – ambrotypes can be coated by a black varnish on the emulsion side – this has the advantage that the image is not reversed and is protected by the glass so separate varnishing is not necessary.

Black glass can be used which avoids a backing material.

A black (or other colour) metal plate can be coated and sensitised instead of glass, this is usually called a “Tintype” although most modern “tintypes” are made on black anodised aluminium..

I have suitable cameras and lenses for the process which you can use – I advise a practical working size of 13 x 18 cm – but you can make an ambrotype (or “tintype”) with just about any camera.

You will work with daylight or with  artificial light and “strobe” lighting if the weather is not suitable for much daylight work (we do get 300 days of sunlight a year on average, but the “quality” and quantity of the UV in the daylight changes depending on the season.

Other collodion workshops will include :-

  • Mixing salted collodion formula (half day 40 euro)
  • Making varnish (half day 40 euro)
  • Maintenance of the silver nitrate solution
  • Making a silver bath tank.
  • Making a (almost) 5 x 4 inch camera for wet plate
  • Wet plate collodion negatives
  • Dry plate negatives
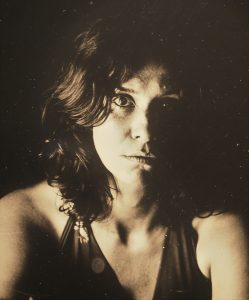
Violetta
Violetta – collodion wet plate 13x18cm
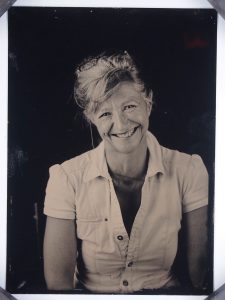
Karin
Karin – wet plate collodion 13x18cm
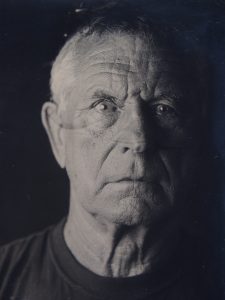
self portrait
self portrait wet plate collodion 13x18cm
Categories
Workshops

Carbon Transfer printing on glass

The carbon transfer one day workshop will guide you through the process of making a print from a photographic negative onto glass.

It is a contact printing process so a negative the same size as the final print is required. This can be anything such as a digital negative, a wet plate collodion negative, a silver gelatine negative or  a calotype,

In the carbon transfer process, the negative is printed by putting it into contact with a  “tissue” which is coated with coloured (I use carbon black) gelatin and then sensitised to light, exposing the sensitised tissue to UV light which proportionally hardens the gelatin in relation to the negative density, placing the exposed tissue into direct contact with carefully prepared glass, developing the glass/tissue “sandwich” in a warm water bath which will separate the tissue from the glass and then dissolve the unhardened gelatin.

The sensitised, coloured gelatin in the tissue, when exposed to UV light, will harden in proportion to the density of the negative in contact with it. Clearer parts (the shadows) of the negative will harden more than the darker parts (the highlights).

The result is a positive print on the glass.

The process is logical and simple – in reality there are many things to go wrong (and they do).

In the workshop I will provide a fresh batch of ready made tissue (black) – pre-mixed and tested sensitiser – cleaned, treated and prepared glass. I do offer special half day workshops for these processes, there is not time to do all this work in one day

I have large temperature controlled 20 liter water baths

These glass prints I then used to make orotones, by coating the image surface with a “gold” varnish or lacquer.

I started working with carbon transfer processes when I was looking for a better way to print a photograph onto a glass surface than by coating the glass with a silver gelatin emulsion.

Categories
Workshops

510 Pyro Developer

I like this developer. It is not hard to make but I wish someone had shown me, hands-on, before I started making my own. Patience and care are needed and I have a few tips and tricks I can share.

This workshop can be combined with others as part of the process can be like watching paint dry.

The cost of the half day workshop is 40 euro

You get to take home a bottle of 510 puro which is probably worth more than the cost of the workshop.